JupyterHub (Python and R notebooks on CURC)
Jupyter notebooks are an excellent resource for interactive development and data analysis using Python, R, and other languages. Jupyter notebooks can contain live code, equations, visualizations, and explanatory text which provide an integrated enviornment to use, learn, and teach interactive data analysis.
CU Research Computing (CURC) operates a JupyterHub server that enables users to run Jupyter notebooks on Summit or Blanca for serial (single core) and shared-memory parallel (single node) workflows. The CURC JupyterHub uses the next-generation JupyterLab user interface. The CURC JupyterHub runs atop of Anaconda. Additional documentation on the CURC Anaconda distribution is available and may be a good pre-requisite for the following documentation outlining use of the CURC JupyterHub.
Step 1: Log in to CURC JupyterHub
CURC JupyterHub is available at https://jupyter.rc.colorado.edu. To log in, use your RC credentials. If you do not have an RC account, please request an account before continuing.
Step 2: Start a notebook server
To start a notebook server, select one of the available options in the Select job profile menu under Spawner Options and click Spawn. Available options are:
- Summit interactive (1 core, 12hr, instant access) (a 12-hour, 1 core job on a Summit “shas” node)
- Summit Haswell (12 cores, 4 hours) (a 4-hour, 12 core job on a Summit “shas” node)
- Blanca (1 core, 12hr) (A 12-hour, 1 core job on your default Blanca partition; only available to Blanca users)
- Blanca (12 cores, 4 hr) (A 4-hour, 12 core job on your default Blanca partition; only available to Blanca users)
- Blanca CSDMS (12hr) (A 12-hour, 1 core job on the Blanca CSDMS partition; only available to Blanca CSDMS users)
- Summit interactive Rstudio (1 core, 12hr) (a 12-hour, 1 core Rstudio job on a Summit “shas” node)
Note: The “Summit interactive (1 core, 12hr, instant access)” option spawns a 1-core job to a partition on Summit called “shas-interactive”. This partition is intended to provide “instant” access to computing resources for JupyterHub users. The caveats are:
- users may only run one “shas-interactive” job at a time
- “shas-interactive” jobs only have 1 core and 4 GB of memory allocated to them.
Therefore, this option works well for light work such as interactive code development and small processing tasks, but jobs may crash if large files are ingested or memory-intensive computing is conducted. If this is your case, please consider running your workflow via a batch job on Summit, or try the “Summit Haswell (12 cores, 4 hours)” option (queue waits will be longer for this option). Dask users should either run their workflows via a batch job on Summit, or use the “Summit Haswell (12 cores, 4 hours)” option because this provides 12-cores to the Dask array. Using “shas-interactive” for Dask jobs would only provide one core to the Dask array, negating its utility).
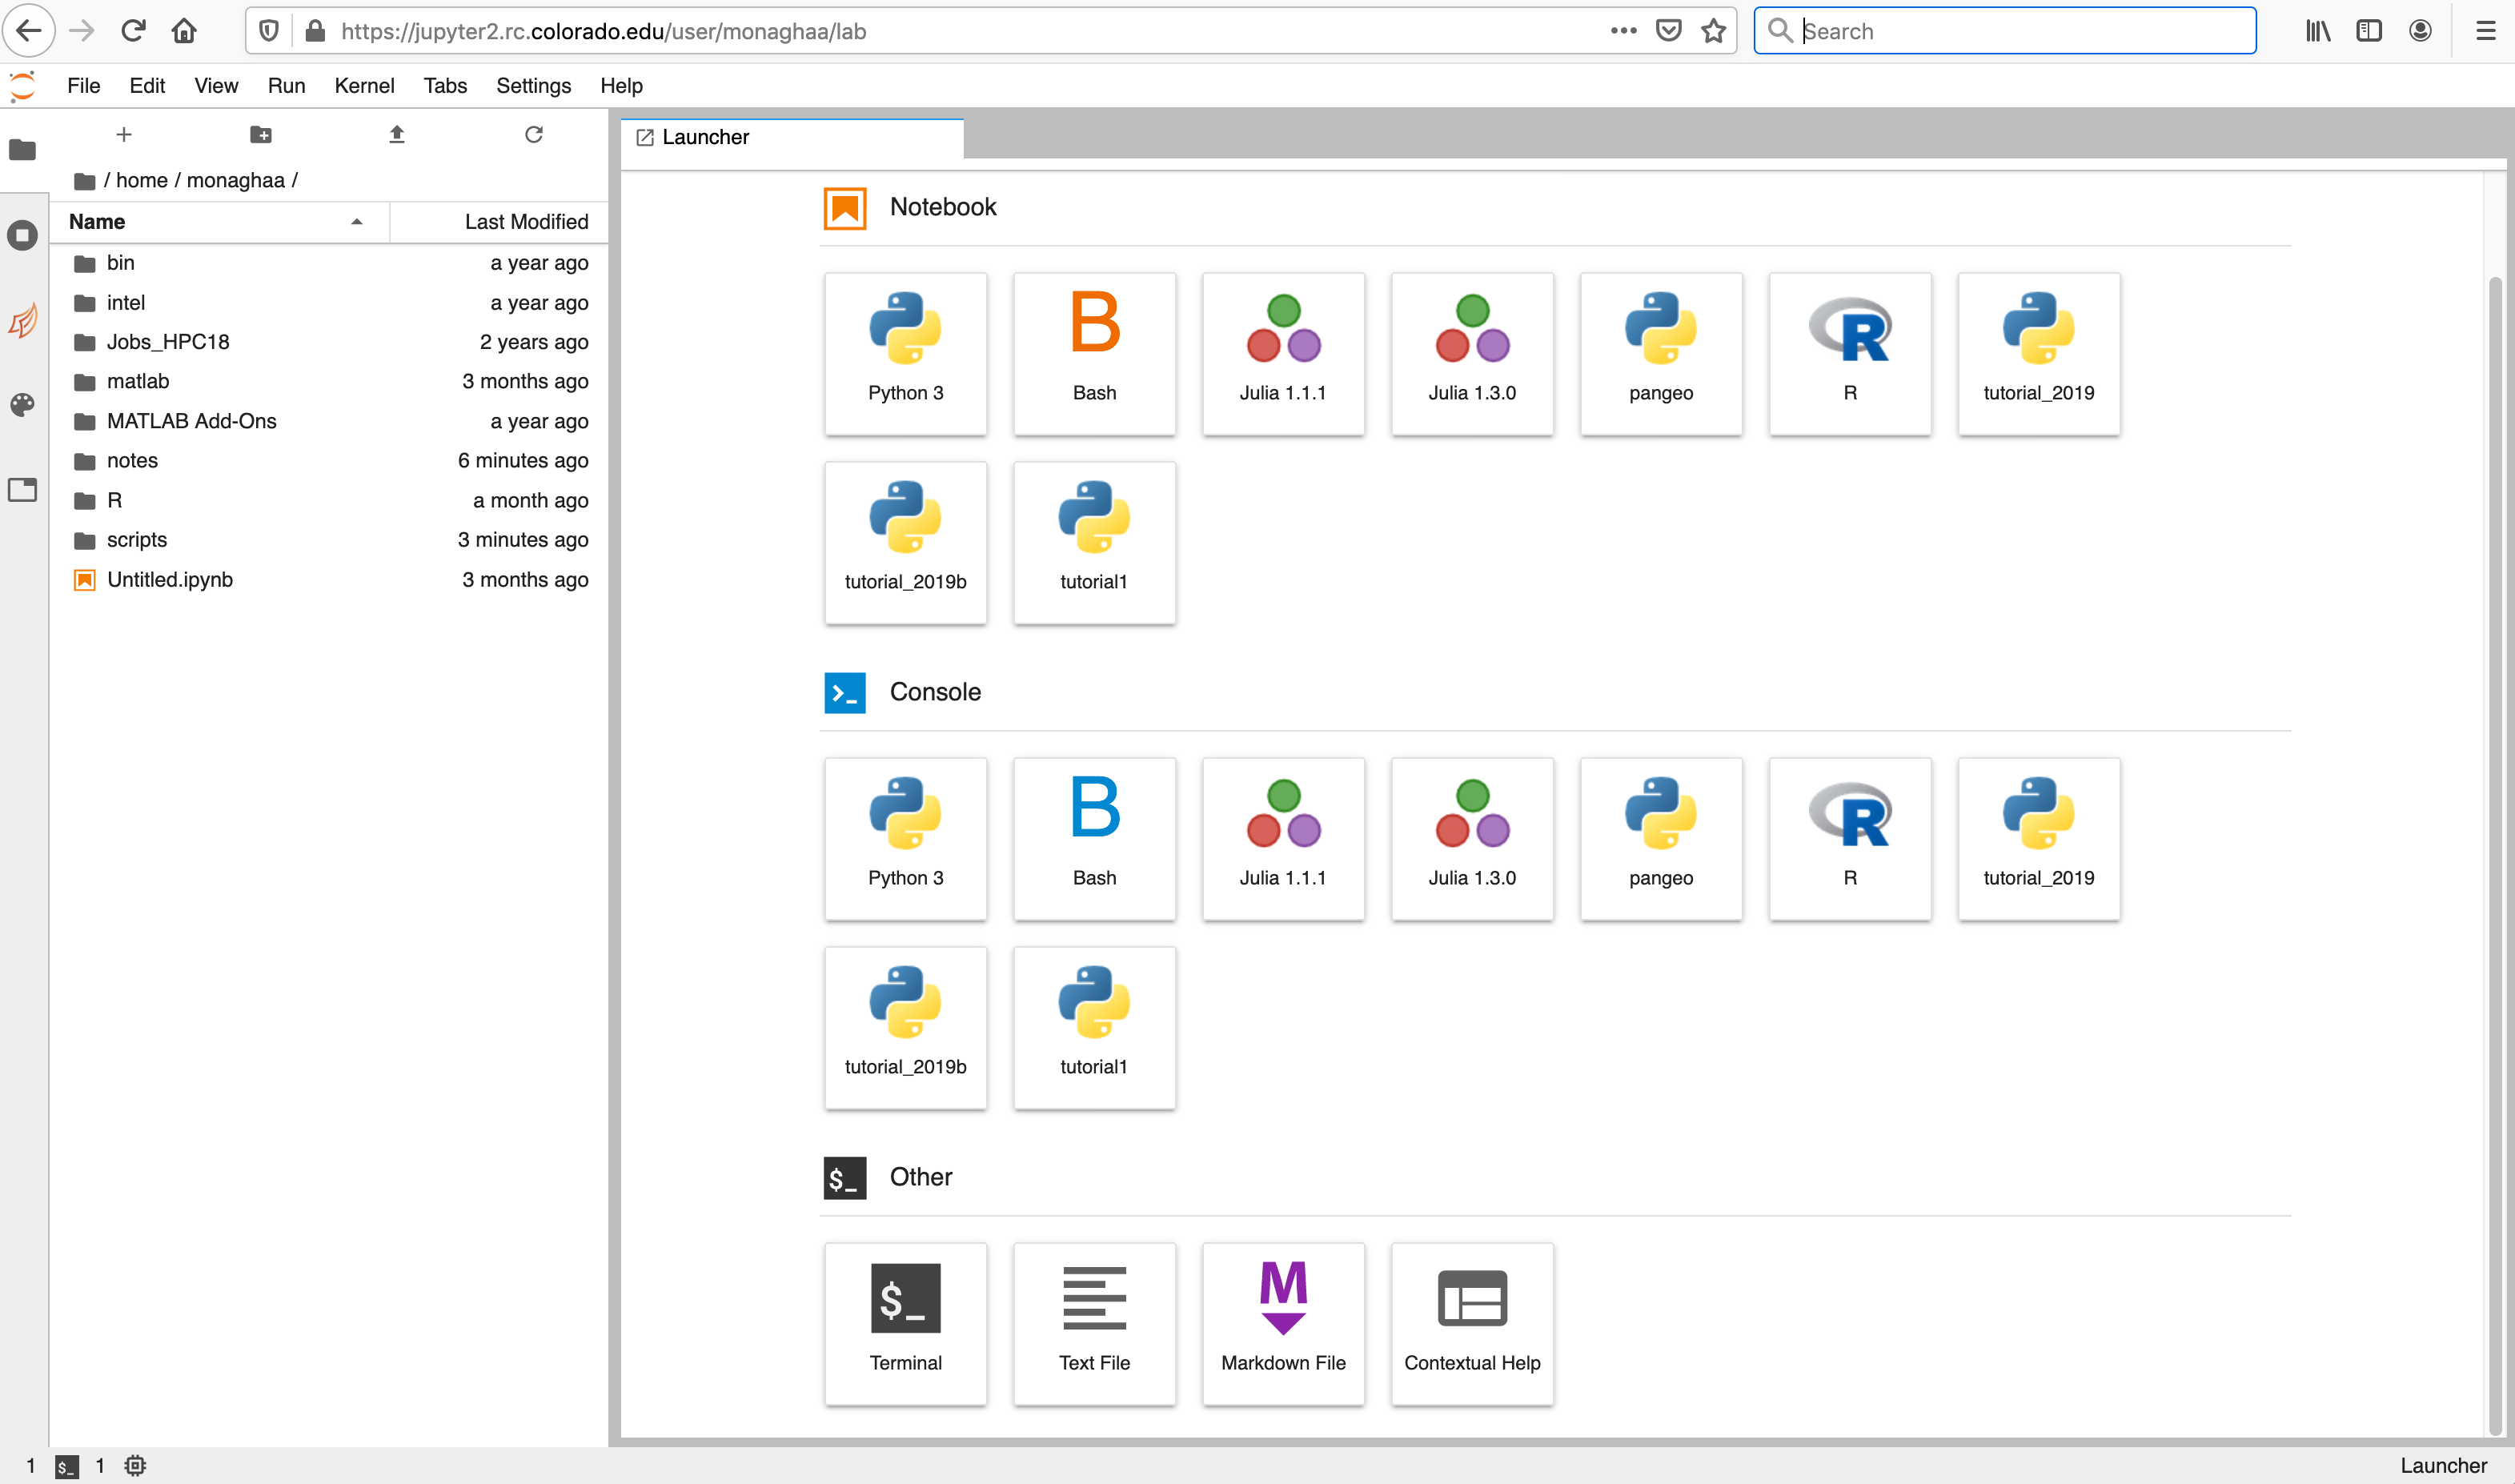
The server will take a few moments to start. When it does, you will be taken to the Jupyter home screen, which will show the contents of your CURC /home directory in the left menu bar. In the main work area on the right hand side you will see the “Launcher” and any other tabs you may have open from previous sessions.
Step 4: Shut down a Notebook Server
Go to the “File” menu at the top and choose “Hub Control Panel”. Use the Stop My Server button in the Control Panel to shut down the Jupyter notebook server when finished (this cancels the job you are running on Summit or Blanca). You also have the option to restart a server if desired (for example, if you want to change from a “Summit Interactive” to a “Summit Haswell” server).
Alternately, you can use the Quit button from the Jupyter home page to shut down the Jupyter notebook server.
Using the Logout button will log you out of CURC JupyterHub. It will not shut down your notebook server if one happens to be running.
Additional Documentation
Creating your own custom Jupyter kernels
The CURC JupyterHub runs on top of the CURC Anaconda distribution. Anaconda is an open-source python and R distribution that uses the conda package manager to easily install software and packages. Software and associated Jupyter kernels other than python and R can also be installed using conda. The following steps describe how to create your own custom Anaconda environments and associated Jupyter kernels for use on RC JupyterHub.
Follow these steps from a terminal session. You can get a new terminal session directly from Jupyter using New-> Terminal.
1. Configure your conda settings
Follow our Anaconda documentation for steps on configuring your conda settings via ~.condarc.
2. Activate the CURC Anaconda environment
[johndoe@shas0137 ~]$ module load anaconda
You will know that you have properly activated the environment because you should see (base) in front of your prompt. E.g.:
(base) [johndoe@shas0137 ~]$
3. Create a new custom environment.
Follow our Anaconda documentation for steps on creating your own custom conda environment.
4. Activate your new environment
(base) [johndoe@shas0137 ~]$ conda activate mycustomenv
Note: We assume here that you’ve named your environment mycustomenv; please replace mycustomenv with whatever name you gave your environment!
5. Create your own custom kernel, which will enable you to use this environment in CURC Jupyterhub:
For a python kernel
(mycustomenv) [johndoe@shas0137 ~]$ conda install -y ipykernel
(mycustomenv) [johndoe@shas0137 ~]$ python -m ipykernel install --user --name mycustomenv --display-name mycustomenv
- The first command will install the ipykernel package if not installed already.
- The second command will create a python kernel with the name mycustomenv with the Jupyter display name mycustomenv (note: the name and display-name are not required to match the environment name – call them anything you want). By specifying the
--userflag, the kernel will be installed in/home/$USER/.local/share/jupyter/kernels(a directory that is in the default JUPYTER_PATH) and will ensure your new kernel is available to you the next time you use CURC JupyterHub.
For an R kernel
(mycustomenv) [johndoe@shas0137 ~]$ conda install -y r-irkernel
(mycustomenv) [johndoe@shas0137 ~]$ R
> IRkernel::installspec(name = 'mycustomenv', displayname = 'mycustomenv')
- The first command will install the irkernel package if not installed already.
- The second command will start R. The third command, executed from within R, will create an R kernel with the name mycustomenv with the Jupyter display name mycustomenv (note: that the name and display-name are not required to match the environment name – call them anything you want). The kernel will be installed in
/home/$USER/.local/share/jupyter/kernels(a directory that is in the default JUPYTER_PATH) and will ensure your new kernel is available to you the next time you use CURC JupyterHub.
Notes:
- If you have already installed your own version of Anaconda or Miniconda, it is possible to create Jupyter kernels for your preexisting environments by following Step 4 above from within the active environment.
- If you need to use custom kernels that are in a location other than
/home/$USER/.local/share/jupyter(for example, if your research team has a group installation of Anaconda environments located in/pl/active/<some_env>), you can create a file in your home directory named~/.jupyterrccontaining the following line:
export JUPYTER_PATH=/pl/active/<some_env>/share/jupyter
If you need assistance creating or installing environments or Jupyter kernels, contact us at rc-help@colorado.edu.
Using Dask to spawn multi-core jobs from CURC JupyterHub
Dask is a flexible library for parallel computing in Python. Documentation for using Dask on RC JupyterHub is forthcoming. In the meantime, if you need help integrating Dask with Slurm so that you can run multicore jobs on the CURC JupyterHub, please contact us at rc-help@colorado.edu.
Troubleshooting
- If you are a CSU or XSEDE user and are having trouble with packages that employ PERL (due to the
@symbol), visit our documentation on setting up a user variable that links to alternate paths without the@symbol in CSU and XSEDE usernames - Jupyter notebook servers spawned on RC compute resources log to
~/.jupyterhub-spawner.log. Watching the contents of this file provides useful information regarding any problems encountered during notebook startup or execution.
See Also
Couldn’t find what you need? Provide feedback on these docs!